Wednesday, September 20, 2023

Monday, September 18, 2023

Friday, September 15, 2023
Spectacular panoramic view over the town and castle of Vianden in Luxembourg

Fingal’s Cave by gms on Flickr.Fingal’s Cave, Staffa Island - Hebrides, Scotland.

Thursday, September 14, 2023
Cerbu Valley in Bucegi Mountains, Romania. Photo done by myself in a 2007 trip.

Sunset at Seema Malakaya temple in Colombo, Sri Lanka
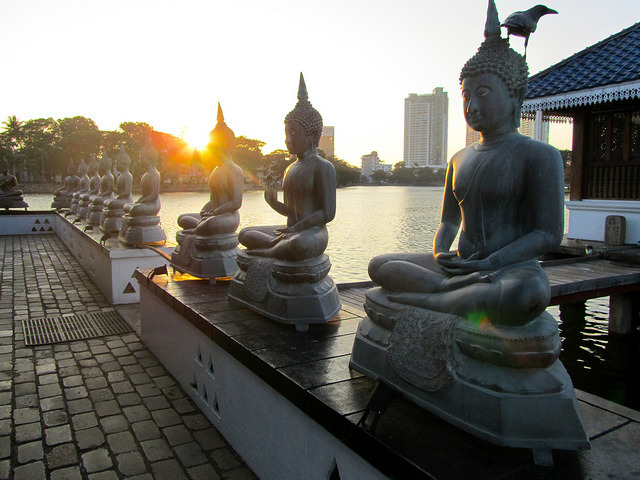
#temple, #Travel, #ceylon, #Architecture, #Sri Lanka
Subscribe to:
Posts (Atom)